Installation
First Time Installation- System Parameter
When installing the ACT customisation on a database check the parameter setting in:
Settings> System Administration> System setup> System parameters> Common parameters

Ensure that parameter "ACT_SRV_LEVEL" Has its 'Value' column set to "0" (zero) and its 'On/Off' column checked
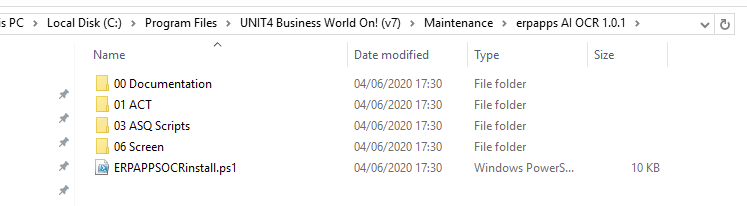
Copy the Files
The first thing to do is unzip / copy the files to a location on your server. This will usually be the MAINTENANCE folder if one has been created. The location can vary but it should include all the install files / UK products etc. on the server. For example:
Powershell Script
The powershell script included with the install (INT_ERPAPPSOCR_install.ps1) is designed to install all the necessary components of the system.
It will:
-
Copy and install the ACT file
-
Install the TOPGEN screen
-
Create the tables
-
Create the menus
Running the powershell
You will need to be logged on to the Agresso Business server with Admin rights. Then make sure you run powershell as an administrator.
If you get an error such as: "File XXX cannot be loaded because running scripts is disabled on this system..." you will need to run the following code in the powershell window:
set-executionpolicy remotesigned
If you get an error such as: "ps1 is not digitally signed" then you may need to bypass the execution policy to run the script, then set it back to what is was before
set-executionpolicy bypass
If you get an error such as: "Ampersand now allow. The & is reserved for...." , then please check you are running powershell 3+
The simplest way to execute the script is to switch to the root directory of the install using the command below (you can copy the path and right click to paste it into powershell)
cd "yourfilepath"
For example

Then execute the script by keying in:
./ERPAPPSOCRinstall.ps1
The system will then prompt you for your version number (e.g. 5.6.3):

It will then prompt for your data source name which is found in AMC:
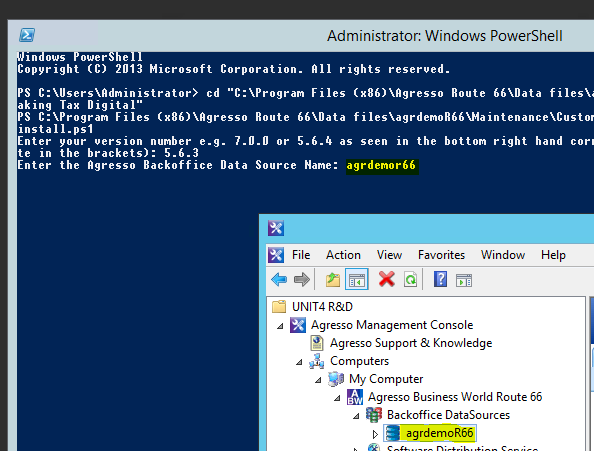
The script will then execute and install the system.
If it has been successful you should see the ASQL exit message and the powershell exit message as below, check the powershell has not reported any errors.

You can now exit powershell.
Additional ORACLE database setup
The GUID field types must be updated on all tables to be varchar2(100 BYTE)