Annotating in Rossum
Note that the Rossum team are constantly improving their application and front end. You can always access their latest help documents from the
icon  in the top right of the screens and we would recommend doing this.
The below is included to get you started
We have also included some best practice suggestions in this section. which are pictularly important if you are using a dedicated engine, to ensure accurate extration.
Starting the Review
The invoice review screen is the screen in which you not only change the extracted data but train the AI system for future extractions.
It is accessed by clicking the magnifying glass button  must have selected the row prior to using the button (the row goes blue) not simply checked the box in this case.
In desktop this will open the page in a new browser window, you may also notice the review prompt appear in Unit4 at the same time, this can be ignored until you have completed the review
In web the document will open in a new tab without a prompt.
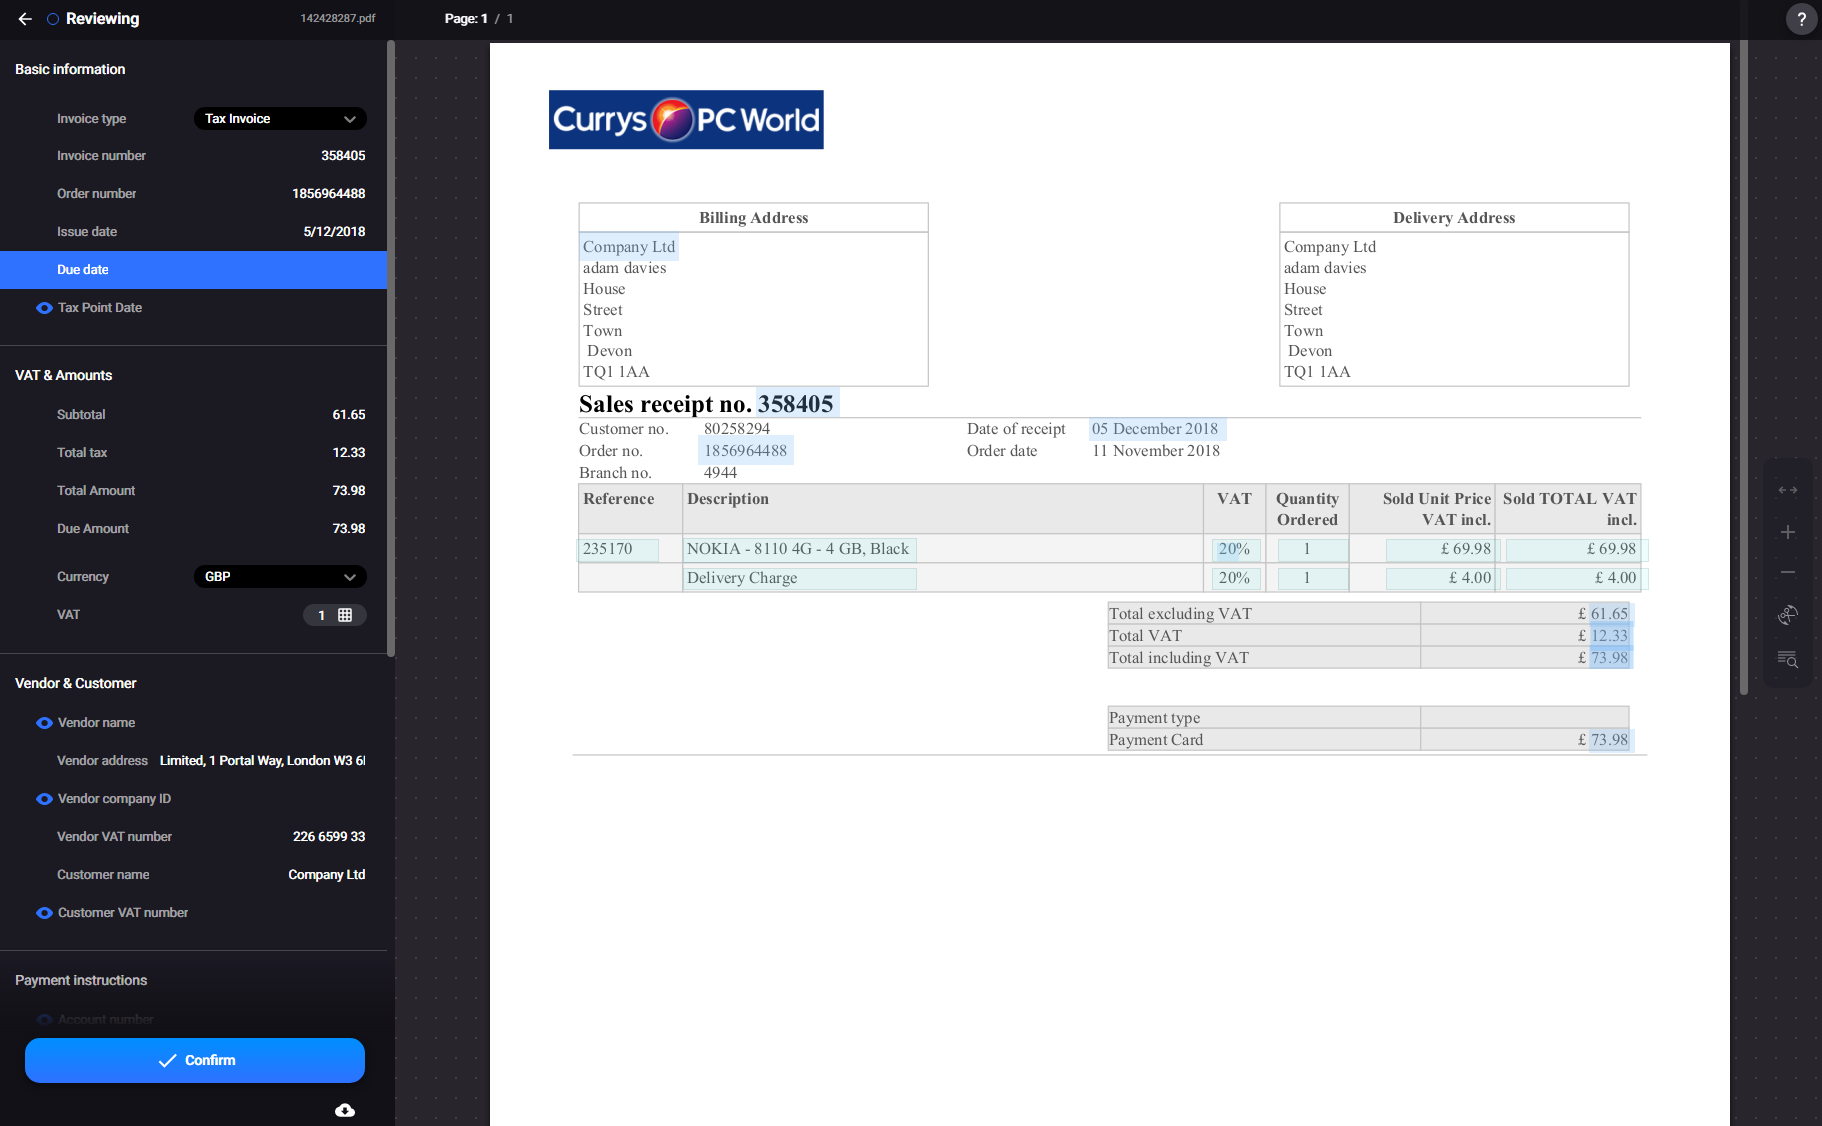
The left hand side is the field controls which control the data capture, the fields requiring data can be identified where you see the little blue eye symbol next to the field

The small menu on the right contains the document controls i.e. zoom, rotate etc.
Note that you can manually type data into any of the fields, however by doing the following you will train the system and therefore improve the capture accuracy for future documents.
Changing a Captured Field
If a piece of information is not quite right then changing it is very simple. For example let's say the system has captured the invoice number slightly wrong.
We click on that item in the left-hand menu and this then shows us where it has pulled the information from:
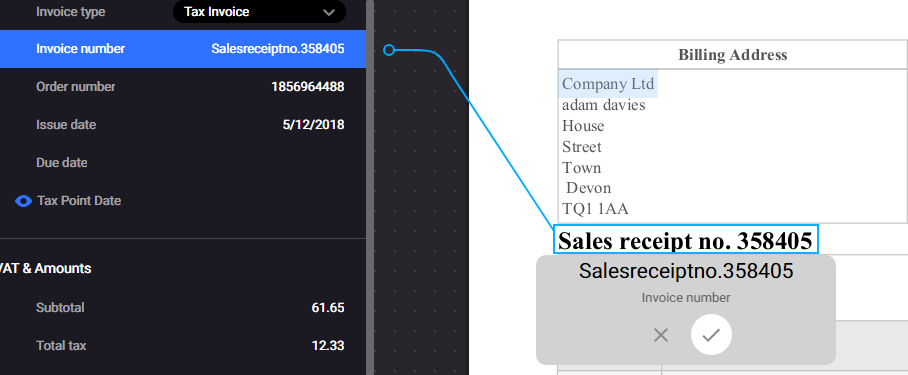
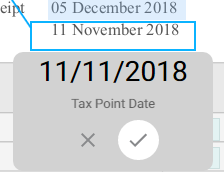
To capture just the number, you can simply drag the edges of the blue box to suit and the text will update:
If the text is still wrong, for example if it is very blurred or in an obscure font, then you can also manually change the text in the grey box to tell the system what it actually says. Use the tick to confirm.
Adding a New Field
If the system has not managed to find a field, you can point it to the correct section of the document. Again, click the field on the left-hand menu
Then you have two options
- The system will have identified all the areas of text, you can see these by hovering over the section on the document and it will show the area surrounded by a broken blue line
You then simply click on it and the system will link the field to the data
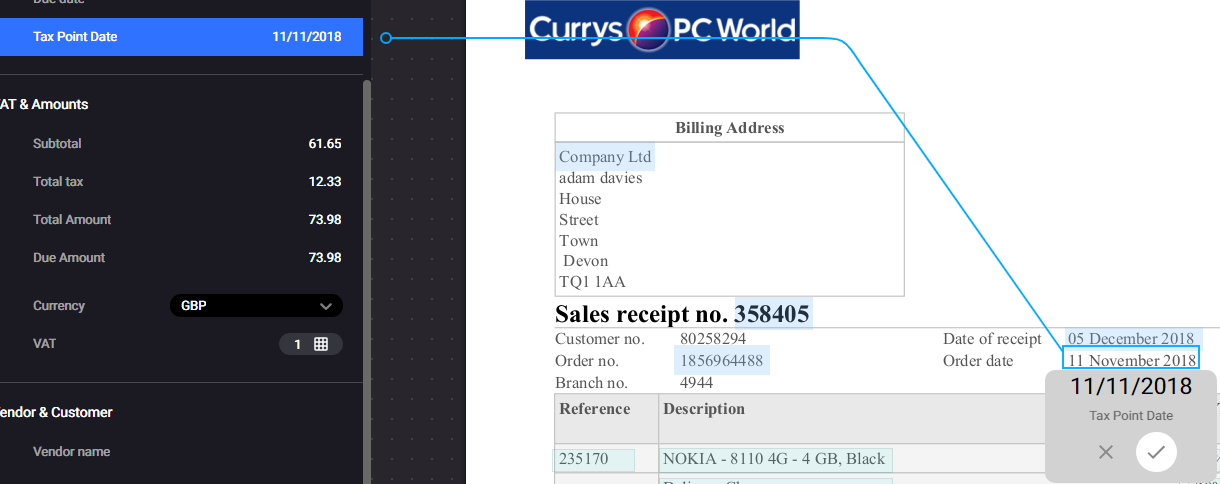
- If the system has not identified the area, or it is not quite right then you can simply use a click and drag to highlight the text area:
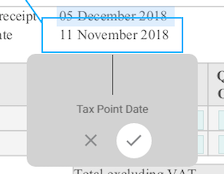
When you release the mouse it will read the text
Use the tick to confirm.
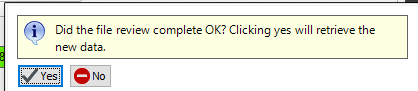
Confirming the Review
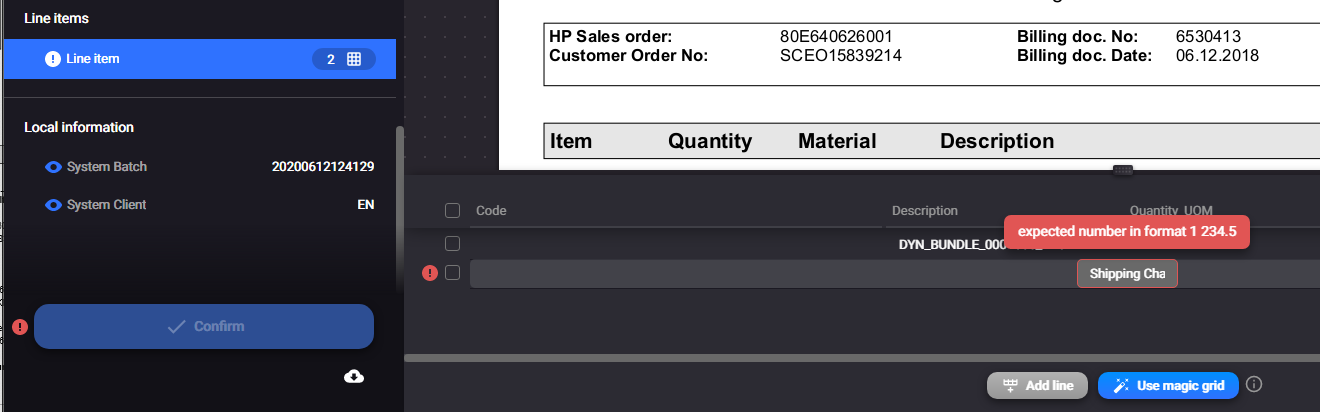
Note if the document has outstanding issues you will notice that the confirm button is not available

Clicking on the exclamation will take us to the first issue that needs addressing. If that error is in a grid then it will open this up for you as well
Once all the errors are dealt with then the confirm button will become available, once this is clicked the document will move to a confirmed status in Rossum and the data will not be able to be edited any further.

When you have clicked this, you will be redirect to the static page which can then be closed.

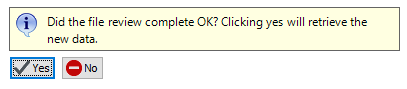
If you are in desktop then you can accept the prompt to automatically download the data
If you are using web then you should use the refresh data button to return the values.
Best Practices for Reviewing (Annotating)
The Rossum system is a continually learning process, however it needs good data and extraction practices in order to get the best results.
Consistency is key when it comes to training the engine to extract data correctly. Be consistent with your annotations.
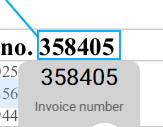
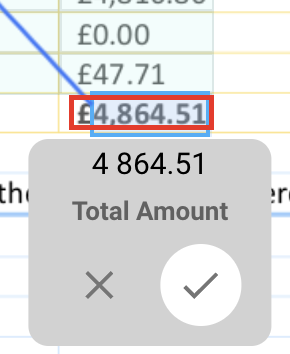
Avoid Capturing Whitespace, Symbols, Labels, or Other Lines
Bounding boxes should not be so big that they capture other lines. They should fit around the correct value and not include other symbols, labels, characters, or too much whitespace.
The red shows the best example, the blue box shows where the box is too large
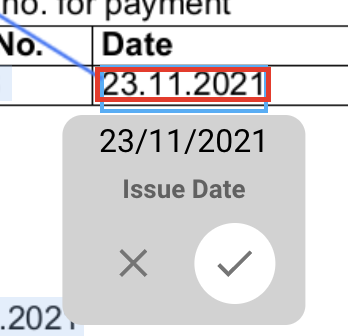
For cases where there isn't a space between the currency symbol and the amount, annotate the currency symbol as well.
Annotate Related Data from the Same Location
If the same data are located at more places on a document, they should be annotated at a location that is the closest to other related data. If there is no data related to the annotated value, the value should be annotated from a location where you would search for it naturally.
It is always better to annotate the data that are logically connected close to each other than capturing them from two different locations (e.g., annotating the supplier name next to the supplier address rather than on another location far from it).
Line Items
We strongly recommend using the Aurora complex tables: https://knowledge-base.rossum.ai/docs/aurora-for-complex-tables